As with most people who are good at eating, I also cook a bit. And like most of those people, there are a few things I cook well, more I do OK, and some I should never try again.
Bread was one of these.
But every decade or so I overcome my self-loathing and “discover” some “easy homemade bread for beginners” and make the mistake of trying again.
I did it just last Thanksgiving with an “easy sourdough loaf.”
The horror show that followed looked, smelled and tasted like a halibut dead on the beach for a week. My friends were enthralled. They posted pictures of the atrocity on a social media site for demented bakers. But even the trolls and serial killers dwelling there were so aghast they could find no words more offensive than the reality of “the halibut loaf.”
There was one friend who took pity. I’ll call her “Abbie,” which is an acronym for what she is: Actual Bread Baker I Envy.
Abbie assured me there were too many variables of infinite nature for me to blame myself. The oven, the weather, the water and — something I’d never considered — the flour.
I knew that flour came in at least two colors, like wine, but I hadn’t given it any more thought.
Abbie explained that producing quality flour was as complex as making a good wine.
She knew how to reach me.
After I gave her some wine she gave me some virtuous flour from her private stash, an Old World wheat grown in the Midwest, “unbrutalized” she said by chemicals and bleaching and more expensive than our wine by volume.
I was skeptical but Abbie was, after all, an Actual Bread Baker I Envy, so I did something unusual for me: I ignored my self-loathing long enough to follow her instructions. Probably the wine helped.
It was a no-knead dough that sits out overnight to ferment. There are a million of these recipes out there, Abbie said, but the key is repetition and customization.
My first loaf with the virtuous flour was not pretty, but it wasn’t a dead halibut.
“More yeast, more salt,” Abbie said, without looking at it. But that’s not what the instructions say, I said. “That’s what I say,” she said.
This produced a French-looking almost boule that was as dense as a brick.
“More water, more kneading,” Abbie said over the phone.
“It’s a no-knead recipe,” I said.
“Just fold, shape and leave it a couple times over a couple hours.”
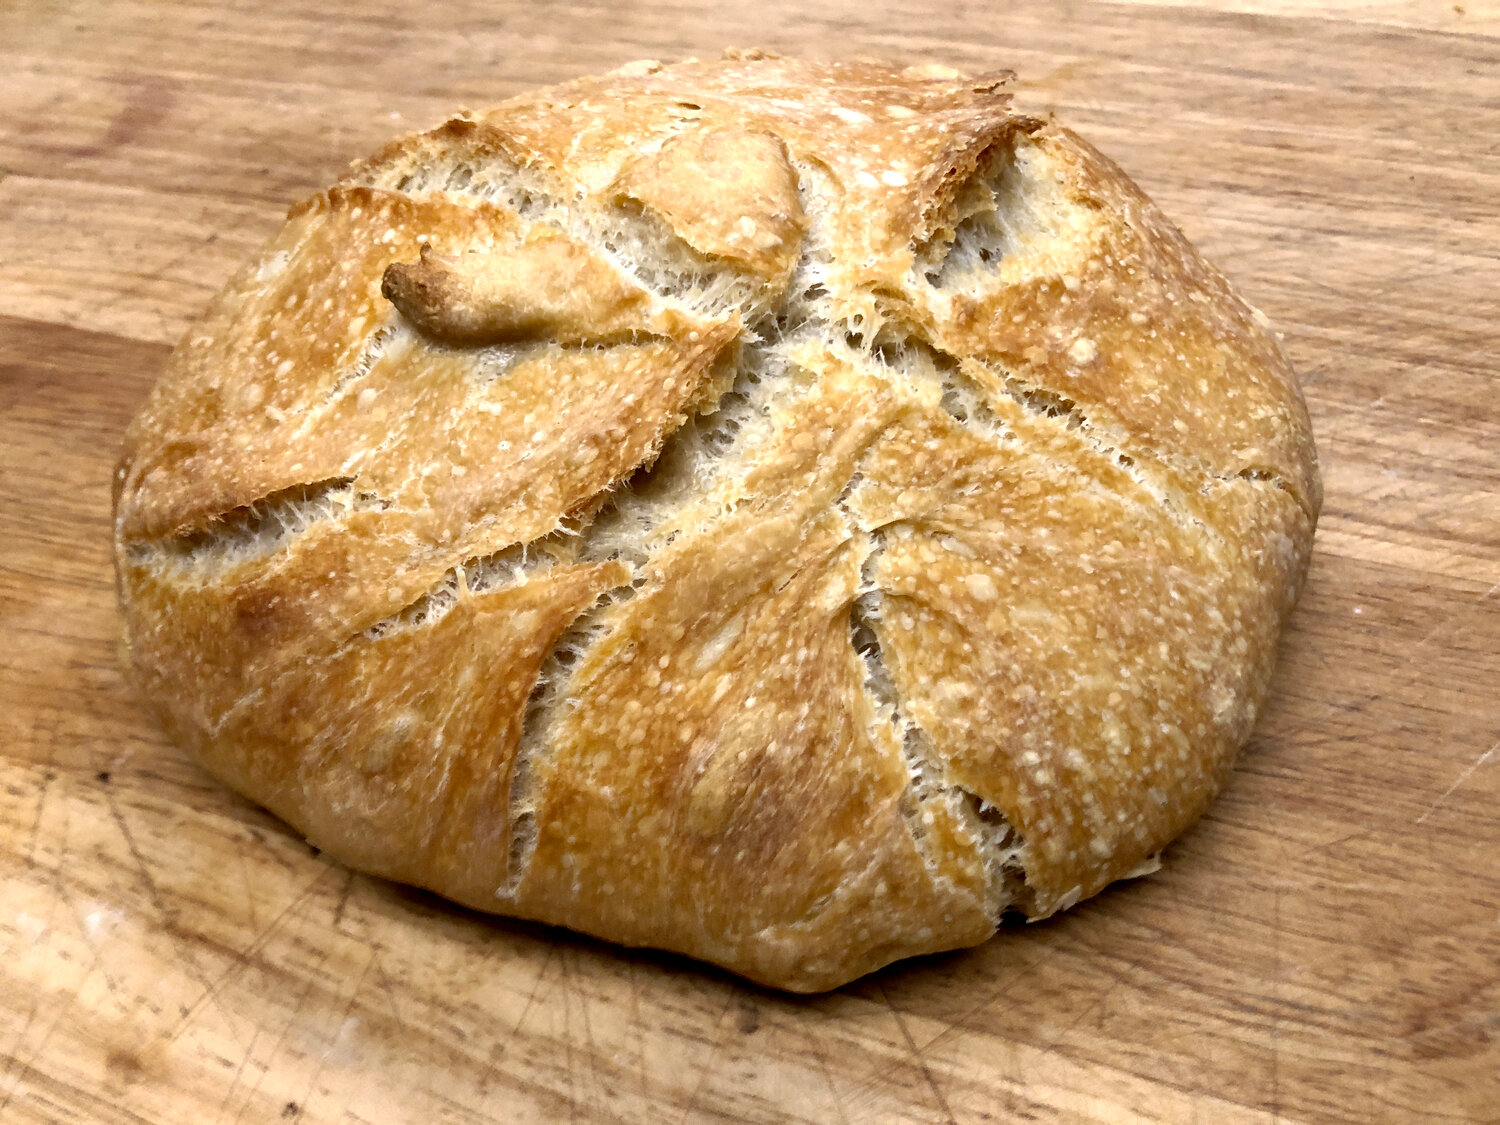
Eventually, I got something that looked and tasted like bread. The French kind.
I have a friend with celiac disease, which means he’s gluten intolerant, but this thing looked too good not to try, so he did.
I thought he was going to cry. It didn’t take much, but he’d forgotten what bread tasted like.
“It must be the unbrutalized flour,” I said.
No-Knead Crusty Cloche Bread With Flour of Untrammeled Virtue
Just under 1 1/4 cups (280 grams) warm water, 110 degrees or so out of the tap. Some will insist on filtered and chlorine-free, so knock yourself out.
2+ teaspoons instant yeast. You’ll have to experiment, gradually increasing until it’s right over many loaves. Proof it in the warm water with some sugar if you think it might be past its prime. If nothing happens, it is
3 1/4 cups (430 grams) of the most virtuous flour you are willing to buy. Abbie says to weigh everything, but I just do the flour because I fear success.
1+ teaspoons granulated salt or a bit more if using kosher.
1. Mix flour and yeast, then add water and salt. You might want to add a bit more flour or water to get a dough that’s smooth but slightly sticky, meaning like you want to touch it but not really.
2. Transfer to another bowl generously coated with olive oil to enrich the crust. You’ll want to soak the mixing bowl immediately for a loved one to clean later. Cover and let rise someplace warm for two or three hours. You can proceed with Step 3 to bake or leave overnight to develop flavor, or it can go into the fridge for a few days for more tang.
3. Pull dough out onto a floured counter with a bench knife or whatever. You might need to oil your hands. Fold one side of the dough over onto itself three or four times. I often want to throw it out at this stage, but let it sit for a couple hours then do it again, if you can bear it, and shape into a boule with the seam down on parchment paper. Try not to deflate. Cover loosely with something it won’t care about, like oiled plastic wrap or your broken dreams. Let rise for an hour.
4. While it’s doing that, preheat a Dutch oven or something similar with a lid in your actual oven at 450. You’ll have to experiment because, like flours, ovens behave differently, but start with a high temp. You can bake without a pot but using one to trap the steam coming out of the dough makes for a chewy crust so just do that.
5. Make one or two cuts on top of the dough with a serrated knife; don’t skip this step — the bread needs to expand instead of deforming (rotten halibut, anyone?). Put dough in the Dutch oven (it’s easier to lift with that parchment paper underneath), cover and bake for 30 minutes, then bake for maybe another 10 or 15 uncovered. Without a Dutch oven, place on a baking sheet or in a loaf pan and start checking at 20 minutes.
6. If you’ve got an instant-read thermometer the center of the bread should be 195 to 210 degrees but if it looks like it’s done, it’s done.
7. Cool on a rack for 15 minutes.
8. Repeat until you get it right. Your friends will think you are a superhero, and they will be right.


UNDERWRITTEN BY THE FUND FOR NONPROFIT NEWS (NEWSMATCH) AT THE MIAMI FOUNDATION, THE ANGEL GUILD, ADVERTISERS, DONORS AND PEOPLE WHO SUPPORT INDEPENDENT, NONPROFIT LOCAL NEWS