
I love bread in pretty much all of its forms. When I first learned how to make my own, I didn’t own a stand mixer, never mind a digital thermometer or kitchen scale. I enjoyed kneading dough by hand and didn’t realize how much more accurate things are when you weigh ingredients. None of these things are required for bread making and none of them will guarantee success. Success comes from a lot of practice and a bit of luck. I will say that weighing ingredients is more accurate, a stand mixer makes kneading easier, and a thermometer is better for testing doneness than the “thump” test — knocking on a hot loaf with your fingers.
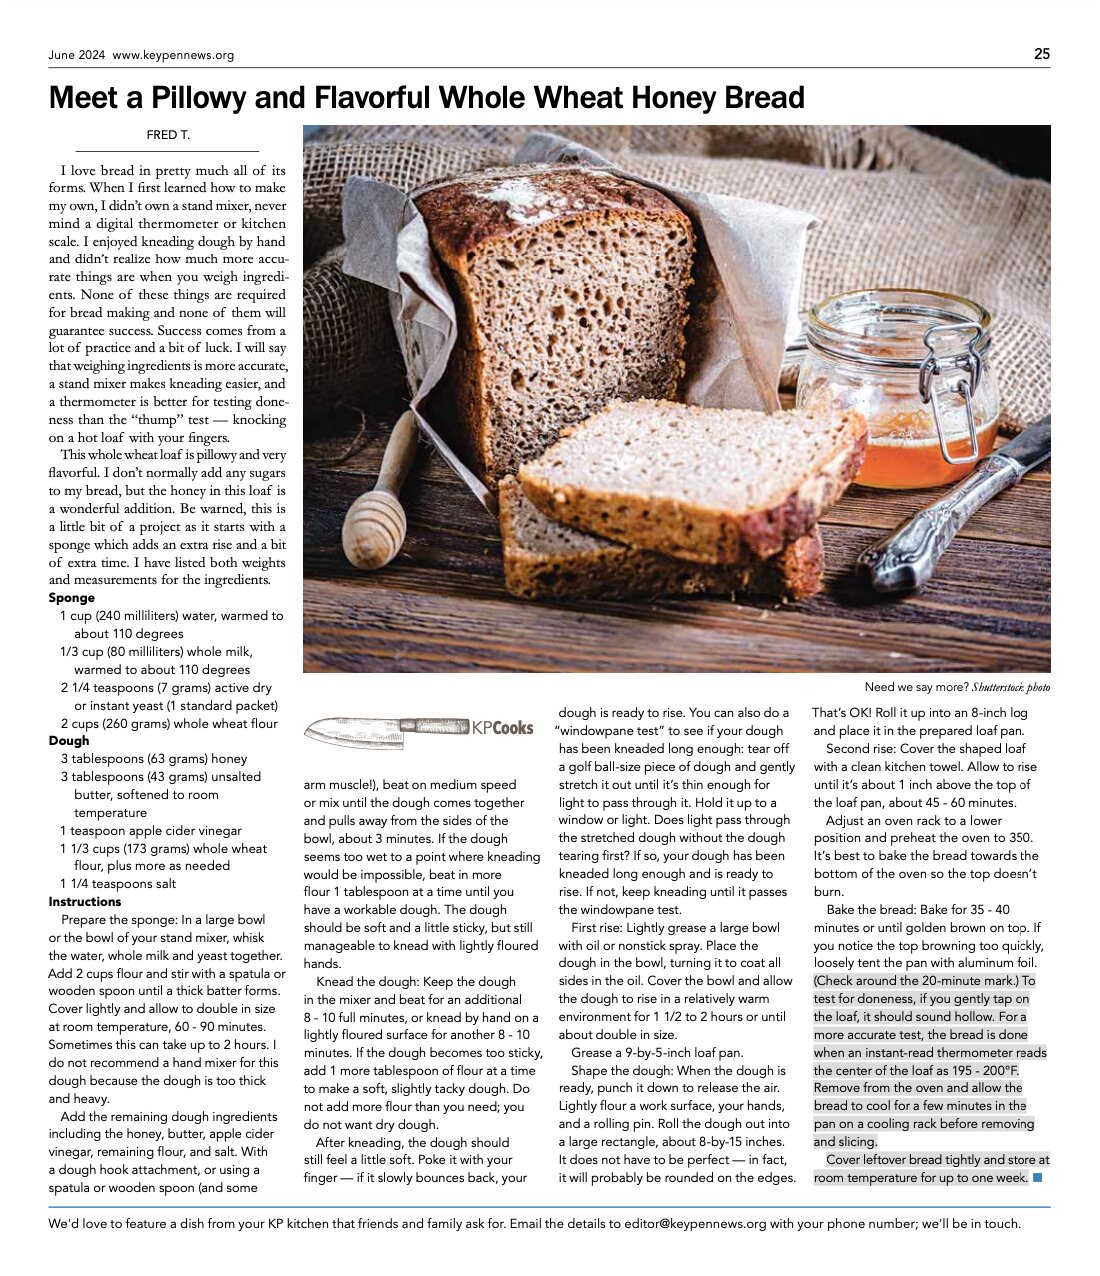
This whole wheat loaf is pillowy and very flavorful. I don’t normally add any sugars to my bread, but the honey in this loaf is a wonderful addition. Be warned, this is a little bit of a project as it starts with a sponge which adds an extra rise and a bit of extra time. I have listed both weights and measurements for the ingredients.
Sponge
1 cup (240 milliliters) water, warmed to about 110 degrees
1/3 cup (80 milliliters) whole milk, warmed to about 110 degrees
2 1/4 teaspoons (7 grams) active dry or instant yeast (1 standard packet)
2 cups (260 grams) whole wheat flour
Dough
3 tablespoons (63 grams) honey
3 tablespoons (43 grams) unsalted butter, softened to room temperature
1 teaspoon apple cider vinegar
1 1/3 cups (173 grams) whole wheat flour, plus more as needed
1 1/4 teaspoons salt
Instructions
Prepare the sponge: In a large bowl or the bowl of your stand mixer, whisk the water, whole milk and yeast together. Add 2 cups flour and stir with a spatula or wooden spoon until a thick batter forms. Cover lightly and allow to double in size at room temperature, 60 - 90 minutes. Sometimes this can take up to 2 hours. I do not recommend a hand mixer for this dough because the dough is too thick and heavy.
Add the remaining dough ingredients including the honey, butter, apple cider vinegar, remaining flour, and salt. With a dough hook attachment, or using a spatula or wooden spoon (and some KPCooks arm muscle!), beat on medium speed or mix until the dough comes together and pulls away from the sides of the bowl, about 3 minutes. If the dough seems too wet to a point where kneading would be impossible, beat in more flour 1 tablespoon at a time until you have a workable dough. The dough should be soft and a little sticky, but still manageable to knead with lightly floured hands.
Knead the dough: Keep the dough in the mixer and beat for an additional 8 - 10 full minutes, or knead by hand on a lightly floured surface for another 8 - 10 minutes. If the dough becomes too sticky, add 1 more tablespoon of flour at a time to make a soft, slightly tacky dough. Do not add more flour than you need; you do not want dry dough.
After kneading, the dough should still feel a little soft. Poke it with your finger — if it slowly bounces back, your dough is ready to rise. You can also do a “windowpane test” to see if your dough has been kneaded long enough: tear off a golf ball-size piece of dough and gently stretch it out until it’s thin enough for light to pass through it. Hold it up to a window or light. Does light pass through the stretched dough without the dough tearing first? If so, your dough has been kneaded long enough and is ready to rise. If not, keep kneading until it passes the windowpane test.
First rise: Lightly grease a large bowl with oil or nonstick spray. Place the dough in the bowl, turning it to coat all sides in the oil. Cover the bowl and allow the dough to rise in a relatively warm environment for 1 1/2 to 2 hours or until about double in size.
Grease a 9-by-5-inch loaf pan.
Shape the dough: When the dough is ready, punch it down to release the air. Lightly flour a work surface, your hands, and a rolling pin. Roll the dough out into a large rectangle, about 8-by-15 inches. It does not have to be perfect — in fact, it will probably be rounded on the edges. That’s OK! Roll it up into an 8-inch log and place it in the prepared loaf pan.
Second rise: Cover the shaped loaf with a clean kitchen towel. Allow to rise until it’s about 1 inch above the top of the loaf pan, about 45 - 60 minutes.
Adjust an oven rack to a lower position and preheat the oven to 350. It’s best to bake the bread towards the bottom of the oven so the top doesn’t burn.
Bake the bread: Bake for 35 - 40 minutes or until golden brown on top. If you notice the top browning too quickly, loosely tent the pan with aluminum foil (Check around the 20-minute mark.) To test for doneness, if you gently tap on the loaf, it should sound hollow. For a more accurate test, the bread is done when an instant-read thermometer reads the center of the loaf as 195 - 200°F. Remove from the oven and allow the bread to cool for a few minutes in the pan on a cooling rack before removing and slicing.
Cover leftover bread tightly and store at room temperature for up to one week.
Follow this link for a printable version of this month's KP Cooks.


UNDERWRITTEN BY THE FUND FOR NONPROFIT NEWS (NEWSMATCH) AT THE MIAMI FOUNDATION, THE ANGEL GUILD, ADVERTISERS, DONORS AND PEOPLE WHO SUPPORT INDEPENDENT, NONPROFIT LOCAL NEWS


